KitchenAid Dishwasher Parts Manual: A Comprehensive Guide
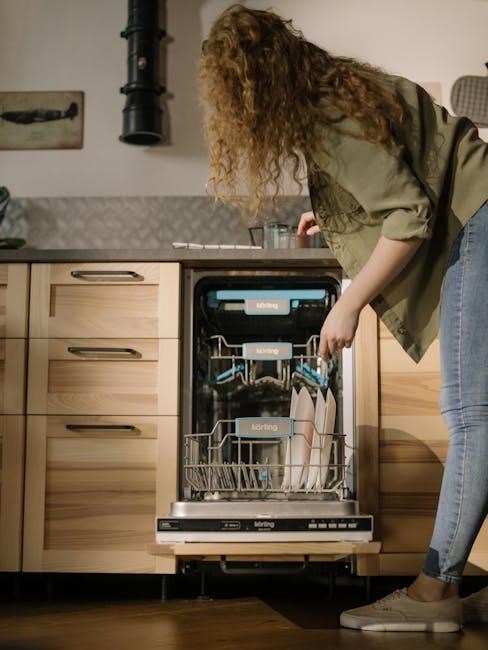
Embark on a journey to understand your KitchenAid dishwasher! This manual details installation, operation, and maintenance, starting with the Superba parts diagram today, 02/09/2026.
KitchenAid dishwashers are renowned for their durability, innovative features, and superior cleaning performance, becoming a staple in many modern kitchens. Understanding the intricacies of these appliances, however, requires a solid foundation – and that’s where this manual comes in. We aim to provide a comprehensive resource for owners seeking to maintain, troubleshoot, or repair their KitchenAid dishwasher.

From the classic Superba models to the latest Pro models, KitchenAid consistently delivers reliable dishwashing solutions. This guide will help you navigate the world of KitchenAid dishwashers, offering insights into their components and functionality. Whether you’re a seasoned DIY enthusiast or a first-time appliance owner, this manual will empower you to confidently address any dishwasher-related challenges. Remember to consult this guide alongside your specific model’s documentation for optimal results, starting with understanding the parts diagram as of today, 02/09/2026.
Understanding KitchenAid Dishwasher Models
KitchenAid offers a diverse range of dishwasher models, each designed with specific features and capabilities to cater to varying needs. The Superba series, known for its quiet operation and efficient cleaning, represents a cornerstone of the KitchenAid lineup. More recent Pro models boast advanced wash systems and customizable cycles for tackling heavily soiled dishes.
Beyond these core series, KitchenAid provides options with differing rack configurations, stainless steel tub materials, and smart connectivity features. Recognizing your specific model is crucial for accurate parts identification and troubleshooting. Variations exist even within series, impacting component compatibility. This manual, alongside your dishwasher’s original documentation, will help you decipher these differences. Starting with the parts diagram, understanding these nuances ensures successful maintenance and repair as of today, 02/09/2026.
Locating Your Dishwasher’s Model Number
Identifying your KitchenAid dishwasher’s model number is paramount for ordering the correct replacement parts and accessing specific repair information. Typically, the model number is found on a sticker or plate located in one of several places. The most common location is on the side of the dishwasher door, visible when the door is fully opened.

Alternatively, check the frame of the dishwasher along the top or side interior when you open the door. In some instances, the model number may be affixed to the back panel of the unit. This number is a unique identifier, crucial for referencing parts diagrams and ensuring compatibility. Having this information readily available, alongside today’s date, 02/09/2026, streamlines the repair process and prevents ordering incorrect components. Refer to your Superba parts diagram with this number!

Common KitchenAid Dishwasher Parts & Their Functions
Explore essential components like spray arms, wash pumps, heating elements, and control panels – understanding each part’s role is key to effective dishwasher maintenance.
Spray Arms & Wash Impellers
KitchenAid dishwashers rely heavily on spray arms and wash impellers for effective cleaning. These components distribute water throughout the dishwasher interior, reaching every dish and utensil. Spray arms, typically located at the bottom, middle, and sometimes top of the dishwasher, feature strategically placed nozzles that rotate and spray water with force.
Wash impellers, often found in newer models, utilize a different approach. Instead of rotating arms, they employ a spinning hub with fins to create a powerful water current. Both spray arms and impellers are susceptible to clogging from food particles, leading to reduced cleaning performance. Regular inspection and cleaning of these parts are crucial.
Identifying blockages and ensuring free rotation or impeller spin is vital. Replacement may be necessary if arms are cracked or impellers damaged. Different KitchenAid models utilize varying spray arm designs, so referencing your dishwasher’s parts diagram is recommended for accurate identification and replacement.
Wash Pumps & Motors
The wash pump and motor are the heart of a KitchenAid dishwasher’s cleaning system. The motor provides the power, while the pump circulates water throughout the dishwasher during wash and rinse cycles. These components work in tandem to deliver the necessary water pressure and volume for effective cleaning. A failing wash pump motor often manifests as weak spray pressure or the dishwasher failing to fill properly.
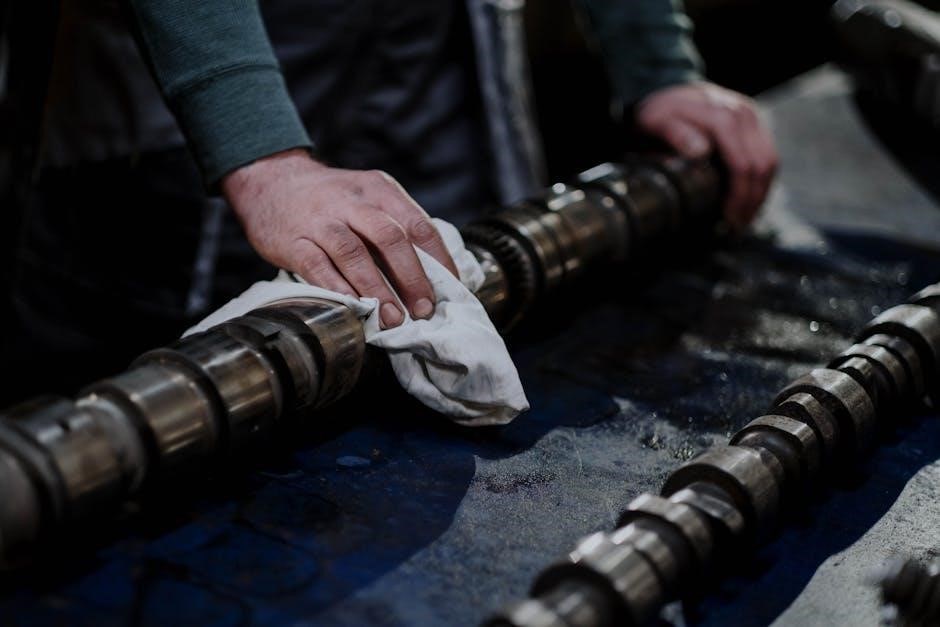
Common issues include worn bearings, impeller damage, or electrical failures within the motor itself. The pump can also become clogged with debris, hindering its performance. Diagnosing pump and motor problems often requires testing with a multimeter to check for continuity and voltage.
Replacement typically involves disconnecting the electrical connections and carefully removing the old pump/motor assembly. Always consult your dishwasher’s parts diagram to ensure you obtain the correct replacement part for your specific KitchenAid model.
Heating Element & Thermostats
KitchenAid dishwashers utilize a heating element to raise water temperature for optimal cleaning and sanitation, particularly during the sanitize cycle. This element, typically located at the bottom of the dishwasher tub, heats the water to effectively dissolve detergents and remove food residue. Thermostats play a crucial role in regulating the water temperature, preventing overheating and ensuring efficient operation.
A faulty heating element will often result in lukewarm water or a complete lack of heating, leading to poor cleaning performance. Thermostat failures can cause inaccurate temperature readings, potentially damaging dishes or causing the dishwasher to cycle improperly.
Testing the heating element requires a multimeter to check for continuity. Replacing these components involves disconnecting electrical connections and securing the new element or thermostat. Referencing a parts diagram is vital for correct installation.
Control Panels & User Interface
The control panel is the brain of your KitchenAid dishwasher, allowing users to select wash cycles, options, and initiate operation. Modern KitchenAid dishwashers feature electronic control boards with digital displays, offering precise control and feedback. Older models may utilize mechanical timers and simpler button interfaces.
Common control panel components include cycle selection buttons (Normal, Heavy, Quick Wash, etc.), option buttons (Heated Dry, Sanitize, Delay Start), and indicator lights displaying cycle status. A malfunctioning control panel can manifest as unresponsive buttons, incorrect cycle selection, or error codes.
Troubleshooting often involves checking wiring connections and testing the control board for voltage. Replacement requires careful disconnection of wiring harnesses and installation of a compatible control panel assembly. Always consult a parts diagram for accurate identification.
Troubleshooting Common Issues & Parts Replacement
Diagnose dishwasher problems effectively! This section guides you through common issues like draining, cleaning, leaks, and starting failures, alongside necessary parts replacement steps.
Dishwasher Not Draining: Pump & Hose Inspection
A dishwasher failing to drain is a frequent issue, often stemming from a clogged pump or a kinked drain hose. Begin by disconnecting power to the unit for safety. Locate the drain pump – typically at the base of the dishwasher – and carefully inspect it for obstructions like food particles or broken glass. Remove any debris found within the pump housing.
Next, examine the drain hose, tracing its path from the dishwasher to the sink drain or garbage disposal. Ensure there are no sharp bends or kinks restricting water flow. Detach the hose and flush it with water to dislodge any potential blockages. Check the connection points for leaks or damage. If the pump motor seems to be running but no water is being expelled, the impeller might be damaged and require replacement. Remember to consult your KitchenAid dishwasher parts manual for specific component locations and diagrams.
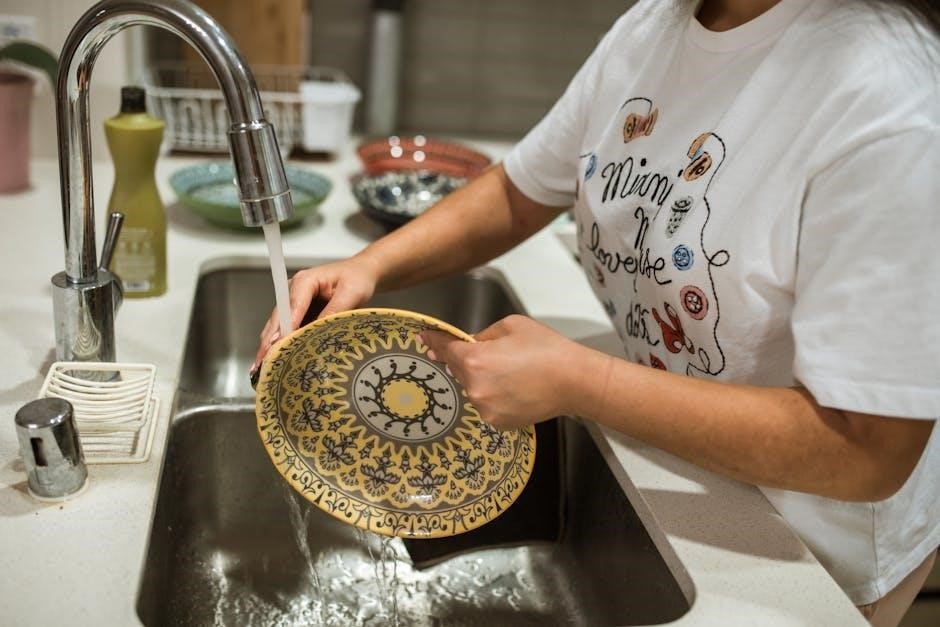
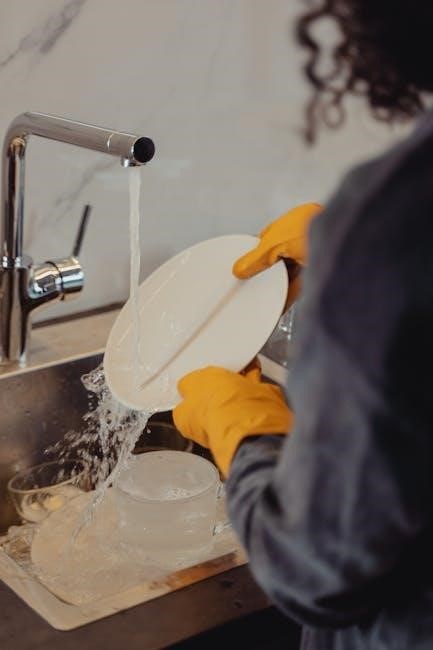
Poor Cleaning Performance: Spray Arm & Filter Check
If dishes emerge from the dishwasher still bearing food residue, the spray arms and filter are prime suspects. Begin by removing the lower spray arm and inspecting its nozzles for clogs. Use a toothpick or small wire to clear any obstructions, ensuring water can flow freely. Repeat this process for the upper spray arm, if applicable. A blocked spray arm significantly reduces cleaning effectiveness.
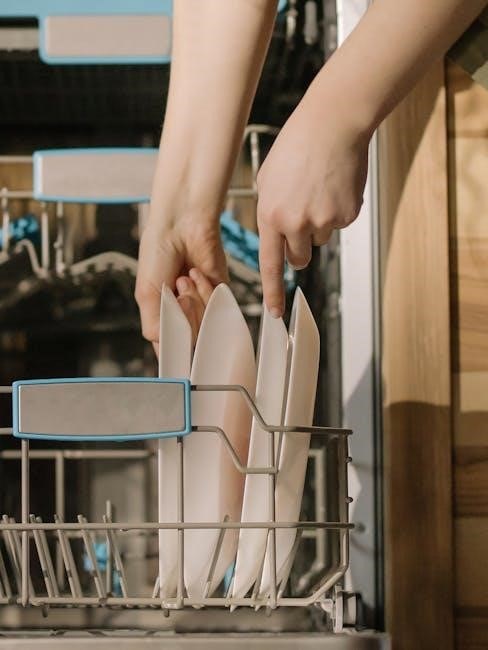
Next, locate and remove the dishwasher’s filter – usually found at the bottom of the tub. Rinse the filter thoroughly under running water, removing any trapped food particles or debris. A dirty filter restricts water circulation and hinders cleaning. Consult your KitchenAid dishwasher parts manual to identify the correct filter type and removal procedure. Regularly cleaning both the spray arms and filter will dramatically improve your dishwasher’s performance and ensure sparkling clean dishes.
Leaking Dishwasher: Door Gasket & Seal Replacement
A leaking dishwasher can cause water damage, so prompt attention is crucial. Often, the culprit is a worn or damaged door gasket – the rubber seal around the dishwasher door. Inspect the gasket for cracks, tears, or stiffness. If damage is evident, replacement is necessary. Refer to your KitchenAid dishwasher parts manual for the correct gasket part number.
Before replacing, ensure the dishwasher is disconnected from power. Carefully remove the old gasket, cleaning the door frame to remove any residue. Install the new gasket, ensuring it’s seated correctly and forms a tight seal. Additionally, check the door seals around the sides and top of the dishwasher for any signs of deterioration. Replacing these seals, as detailed in your manual, can also resolve leaks. A properly sealed door prevents water from escaping during operation.
Dishwasher Not Starting: Control Board & Motor Issues
When your KitchenAid dishwasher fails to start, the issue often lies with the control board or the wash motor. Begin by checking the power supply and ensuring the dishwasher is properly plugged in. If power is confirmed, consult your KitchenAid dishwasher parts manual to locate the control board. A faulty control board may require replacement, a task best left to a qualified technician.
Next, investigate the wash motor. Listen for any humming sounds when the start button is pressed; silence could indicate a motor failure. Use a multimeter (with power disconnected!) to test the motor’s continuity, as outlined in the manual. Motor replacement is another complex repair. Always prioritize safety – disconnect power before any inspection or repair. Referencing exploded diagrams in your parts manual will aid in identifying the correct components and understanding the assembly process.
Where to Find KitchenAid Dishwasher Parts
Locate genuine KitchenAid parts through official websites or authorized third-party retailers; utilize parts diagrams within your manual for accurate identification and ordering.
Official KitchenAid Parts Websites
Navigating the official KitchenAid website is often the most reliable starting point for sourcing replacement dishwasher parts. The site provides a dedicated section specifically for parts, allowing users to search by model number – a crucial step for ensuring compatibility. KitchenAid’s online platform typically features detailed parts diagrams, mirroring those found in the comprehensive parts manual, which visually illustrate component locations and relationships.
Benefits of using the official website include guaranteed authenticity, preventing the risk of installing inferior or incompatible parts. Furthermore, KitchenAid frequently offers support resources, such as installation guides and troubleshooting tips, directly alongside the parts listings. Customers can often find exploded views of the dishwasher, making part identification significantly easier. Direct purchasing from KitchenAid also ensures warranty coverage on the parts themselves, providing peace of mind. However, pricing may sometimes be higher compared to third-party retailers, so it’s wise to compare costs before finalizing your purchase.
Third-Party Appliance Parts Retailers
Beyond the official KitchenAid website, numerous third-party appliance parts retailers offer a wide selection of dishwasher components. These retailers, such as AppliancePartsPros, RepairClinic, and Sears PartsDirect, often present a more competitive pricing landscape, potentially saving you money on essential repairs. They frequently stock both genuine KitchenAid parts and compatible aftermarket alternatives, expanding your options.
However, exercising caution is paramount when utilizing these sources. Thoroughly verify the part number against your dishwasher’s model (as detailed in the parts manual) to guarantee compatibility. Read customer reviews to assess the retailer’s reliability and the quality of the parts they supply. While aftermarket parts can be cost-effective, they may not meet the same durability standards as genuine KitchenAid components. Carefully review return policies before purchasing, ensuring you can return incorrect or defective parts without incurring significant costs. Utilizing parts diagrams from the manual alongside retailer websites aids accurate identification.
Using Parts Diagrams for Identification
Accurate parts identification is crucial for successful KitchenAid dishwasher repair, and parts diagrams are your most valuable tool. These exploded views, typically found within the official KitchenAid parts manual or on retailer websites, visually break down the dishwasher into its individual components. Each part is labeled with a specific number, corresponding to its designation in the parts list.
When searching for a replacement part, always cross-reference the diagram with your dishwasher’s model number. Locate the faulty component on the diagram, note its corresponding part number, and use this number when ordering. Diagrams also illustrate how parts connect, aiding in understanding the repair process. Retailers often integrate interactive diagrams, allowing you to click on components for direct access to available parts. Don’t rely solely on visual similarity; always confirm the part number for guaranteed compatibility, avoiding costly errors and ensuring a proper fit.

Safety Precautions & Repair Tips
Prioritize safety when undertaking any KitchenAid dishwasher repair. Always disconnect the power supply – either by unplugging the dishwasher or switching off the circuit breaker – before beginning any work. Water and electricity are a dangerous combination, so ensure the appliance is completely de-energized. Wear appropriate safety glasses and gloves to protect against sharp edges and potential chemical exposure from detergents or cleaning agents.
When handling replacement parts, be mindful of their fragility. Carefully inspect components for damage before installation. Document the disassembly process with photos to aid reassembly. If you’re uncomfortable with any aspect of the repair, consult a qualified appliance technician. Remember, attempting repairs beyond your skill level can lead to further damage or personal injury. Refer to the parts manual for specific torque specifications and installation instructions.